Description
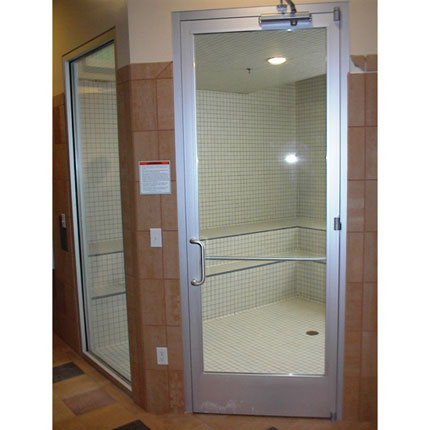
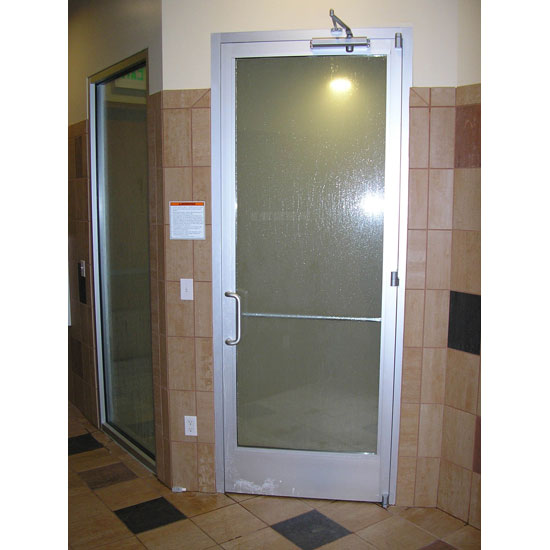
Cedarbrook Club 190 Blowout Commercial Steam Door Description
- Watertight system
- 3/8″ Thick Tempered Clear Glass
- Superior strength aluminum rails
- Pivot hinge (spring loaded for easy door removal)
- This door is a lh (rhos) door Hinges on the left when looking from outside
- Concealed hydraulic closer
- Energy efficient (Sealair weathering system)

- Rough opening of 39 3/16″ x 98 11/16″ *Net frame size 38 15/16″ x 97 7/16″
- Access width is 35 1/4″
- Jamb width of 4 1/2″, jamb thickness 1 3/4″
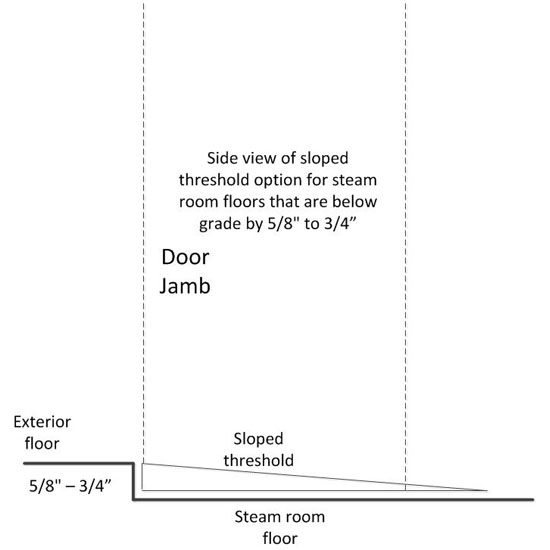
- Includes customized threshold
Frame Finish
- White Frame Finish(Fluropan-70%Kynar)
|
|
 |
| Concealed closer |
Shipping weight 350 lbs.
Cut of concealed closer

* Access plate for the concealed closer is on the header. The door must be removed to expose this plate.
Picture below shows the standard preparation for the interior treatment of the jamb and tile.

Open these Hardware PDFs
Review your hardware below
Club 190 Hardware Description and List
- 4 Sheet metal screws to hold side jabs and top jamb together
- 4 Machine screws to hold threshold to side jambs
- 2 Machine bolts to hold top pivot to door (if required)
- 1 Allen bolt to hold top bottom to door (if required)
** Bottom pivot that is mounted to door has a cover cap that cover the Allen height adjustment screw. Install door then slightly increase height as needed
- Jamb mounting bolts and nylon anchors supplied can be used, but more often you source stainless screws longer and larger ( 3 1/2” is standard). Needs here are site specific. These will need to be pre- drilled and counter sunk. Place scews so that the door hides them when closed.
- External hydraulic closer is surface mounted after the door is installed. # 7 Drill bit and a ¼-20 tap is required. See Norton closer instructions.
- Handle hardware is included with push bar and pull handle.
Installation Tips on Commercial 190 Model Steam Room Doors
Install jambs, header and threshold first. Screws are not provided to mount to jambs. Flat head 3 or 3 ½” stainless screws ¼” ( 12 x 3”) x shaft work well. No more than 3 or 4 are needed per jamb and should be countersunk and be hidden by the door when the door is closed. These holes need to be drilled out on site and silicon the shaft of the screw before tightening. We recommend using 100% clear silicon around the seams before drawing pieces together to fully seal all joints. Clean up wet silicon with rubbing alcohol and clean rags. Also put silicon beneath the threshold to avoid moisture escaping below it. Holes need to be drilled into floor for the anchors and screws for the threshold.
It is most common to tile the inside of the door jamb not covered by the aluminum jamb flush to the jamb. It is best to use silicon that matches the color of the grout at this contact point. This creates the best seal and allows for expansion and contraction that can crack a grout line. The exterior of the jamb usually extends slightly (approximately ¼”) beyond the adjoining exterior wall finish. The exterior wall finish is usually green board or a tiled wall.
Installed door bottom first and depress the spring loaded pivot on the top and put in place. Drill holes for seal air weather strip sweep and mount on the interior of the bottom of the door. Silicon holes before installing strip.
Always mount the Norton hydraulic closer on the exterior, never on the interior. Drill holes, fill with silicon and mount closer.
Install the push pull handles using ample silicon at all contact points to seal properly. None of the mounting hardware should be exposed to moisture.
The last step is to seal around the entire jamb on the inside and outside with either clear or silicon of a chosen color and again clean up excess with rubbing alcohol and clean rag. Heat from the steam room, especially on the inside from expansion and contraction can crack standard grout.