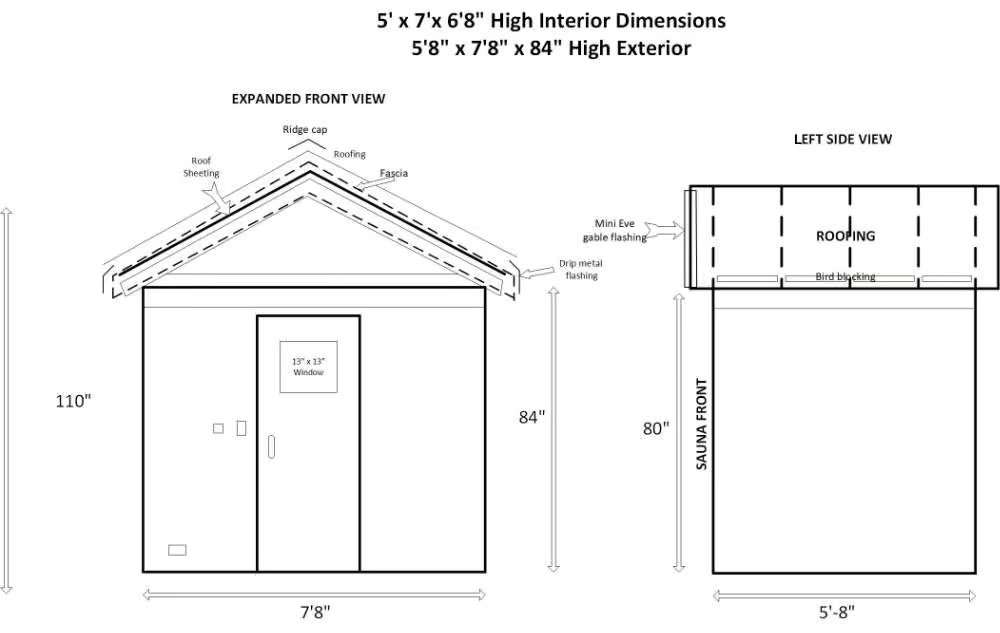
Shows front and side elevation views and roof line set by trusses. Components in play: ridge cap, fascia, sheeting and flashing and roofing material
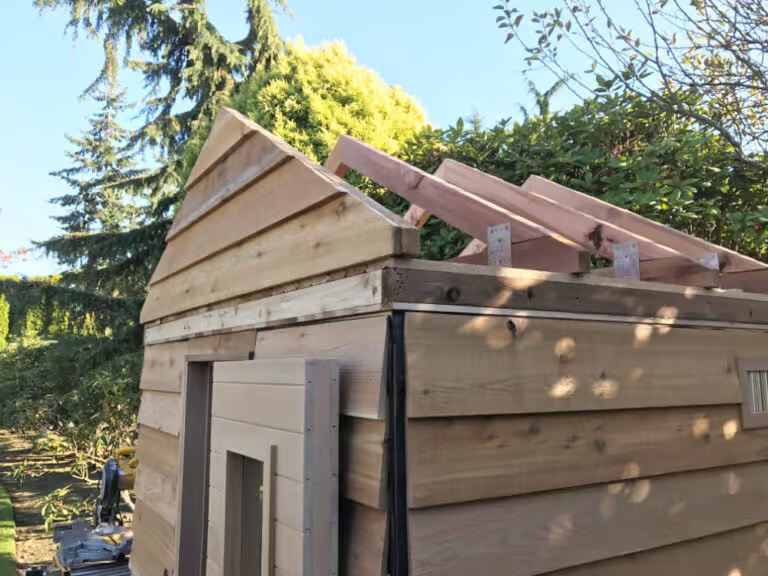
First note, the black magic marker lines on the top of the ceiling panel (these denote where framing in ceiling panel is located so you can screw trusses into solid material using 3” deck screws). Use the 2×2 at base of the truss to attach the trusses to the ceiling panels. Position the 2 or 3 middle trusses on marked lines which will be spaced equally.
Truss Installation
*Note: One truss has the cedar bevel siding already nailed onto the truss, this is the front truss. You will need to nail the pre- cut pieces onto the back truss later. You may need to notch out a truss if the you have built in electrical conduit in the way. This is the ideal time to have complete all the electrical connections as the roof is open and much more accessible for the electrician.
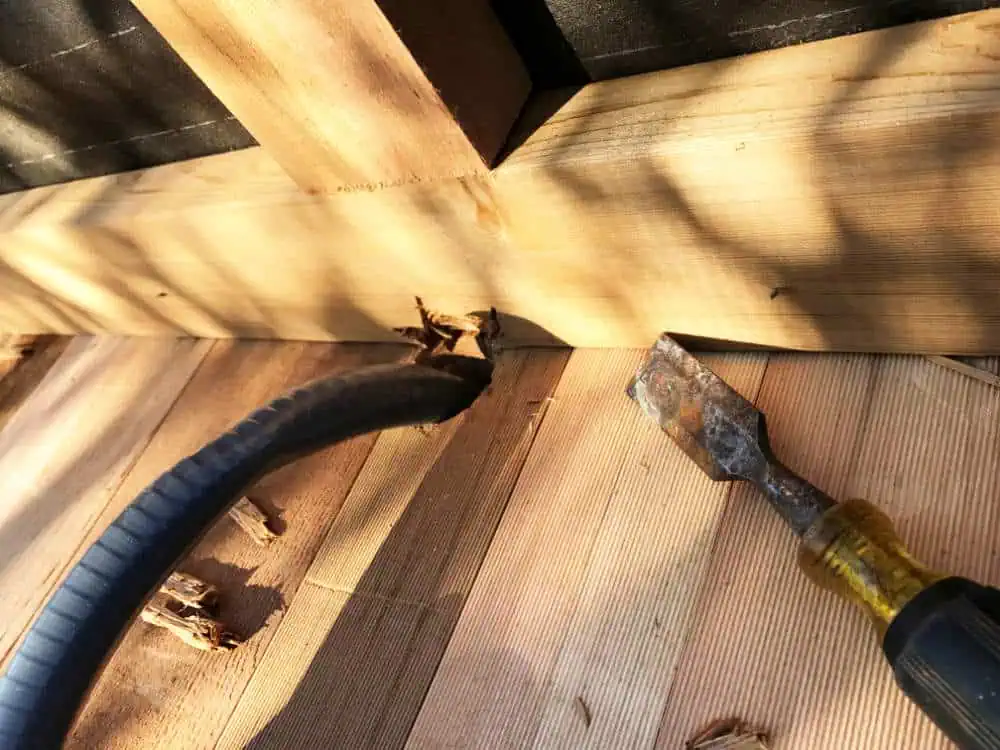
Truss May Need Notching
You may need to notch out a truss if it impinges built-in conduit in the way. This is the ideal time to complete all electrical connections if convenient, as the roof is open and easily accessible for an electrician
Identify the Front Truss — It has Beveled Siding on the Front
Position the front and back trusses so that the bevel siding overhangs beyond the ceiling panels. The bevel will then be flush with the exterior 1×6 top trim.
Bird Blocking
Bird Blocking for Modular Sauna Kit
Bird Blocking Low
The last step is to install the bird blocking that fills the gap been the roof trusses and sauna ceiling panels.
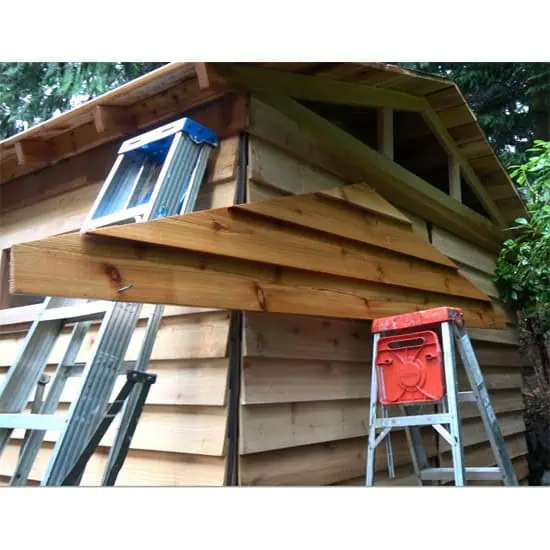
Install bevel on the back gable and
Find the small bundle of pre-cut angles bevel siding. These will form a triangle and fill the back gable. Nail the pieces up directly to the truss by nailing the longest bottom board on first and continue to the top. The small top piece may need to be pre-drilled to prevent the finish nails from cracking this small piece.
Or build a one piece removable panel as shown below
This is nice if electrical access is important from both gables
Roof Sheeting
We send 5/4×6 for the roof sheeting material
This comes in full length or two piece per length sections and pre-cut so that the butt joints will fall on the trusses. This sheeting is also the 8″ overhang so orient the boards so that the underside of the overhang shows the nicest wood. Nail or screw down these sheeting boards.
The sheeting may come in pieces to create the full length of the run. This two piece approach helps so we are not shipping pieces that tare too long to ship. If you have two piece sheeting reference the drawing below and make sure you alternate the lengths each to stagger butt joints for strength.
Fascia
Fasten 5/4 x 5 fascia before the flashing. Make the top and bottom pieces overhang the thickness of the fascia and have the sides meet up to those and cut the angle to fit.
Metal Roofing
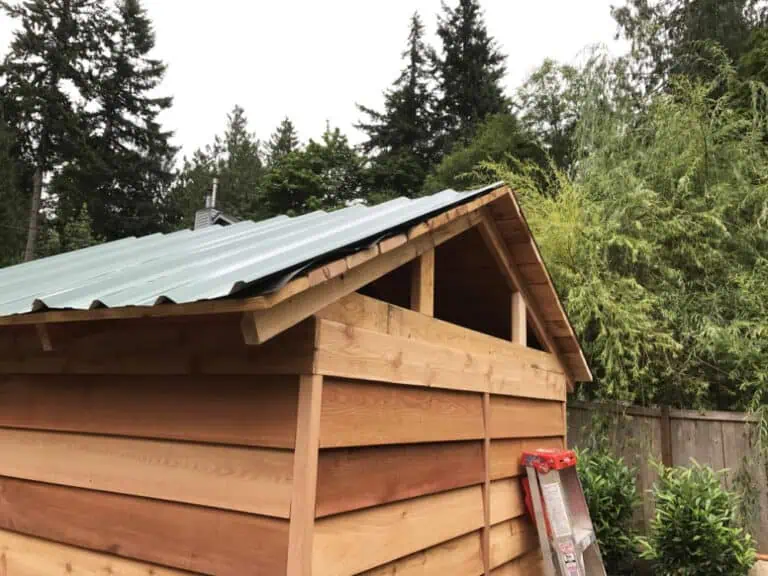
Roll out and staple down the tar paper and then install the metal roofing
Put on the bottom piece of flashing first, followed by the 24″ wide metal roof panels. Lay them out over the roof with one end flush with one of the sides. The last panel will overhang and will need to be trimmed to fit with tin snips.
Complete the roof installation by putting on the end mini eve gable pieces and lastly the ridge cap piece